Oli Prichard takes an innuendo-laden ride into the world of Zen and the Art of Bicycle Maintenance…
All my furniture can be disassembled and reassembled using a 15mm ring spanner and a 5mm Allen key. Why? Because I’m so into bikes I sleep with them next to my bed. Done properly, bike maintenance is like making love, an enjoyable and rewarding endeavour that leaves you sweaty, tired and filthy. Maybe that’s going too far for some of you, especially if you’re new to cycling. However, everyone can benefit from looking after a bike properly. The advantages include saving money, increased comfort levels, better efficiency, less time wasted going to shops, less time out of the saddle and, most of all, the pleasure and satisfaction that’ll leave you smugger than Simon Cowell with a missing rib.
Today we’re going to look at basic maintenance, including fixing a puncture, which is really the first thing you should learn here considering the succession of Bogota mayors who have decided they don’t give a flying fuck when it comes to the roads. Throw in the popular Bogotano pastime of smashing bottles into the streets and it’s a recipe for punctures if ever there was one. You’ll need to know about technical terms like nuts and bolts. If these are confusing to you, simply take the biggest and heaviest dictionary you can find, then smash it onto your wrist until broken. This will keep you from making errors in bike maintenance.
-

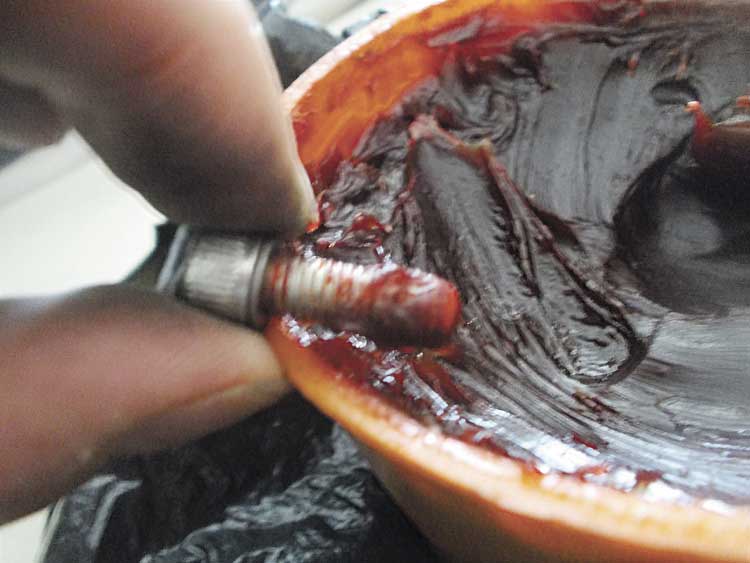
- Make sure to use plenty of grease Photos: Oli Pritchard
-

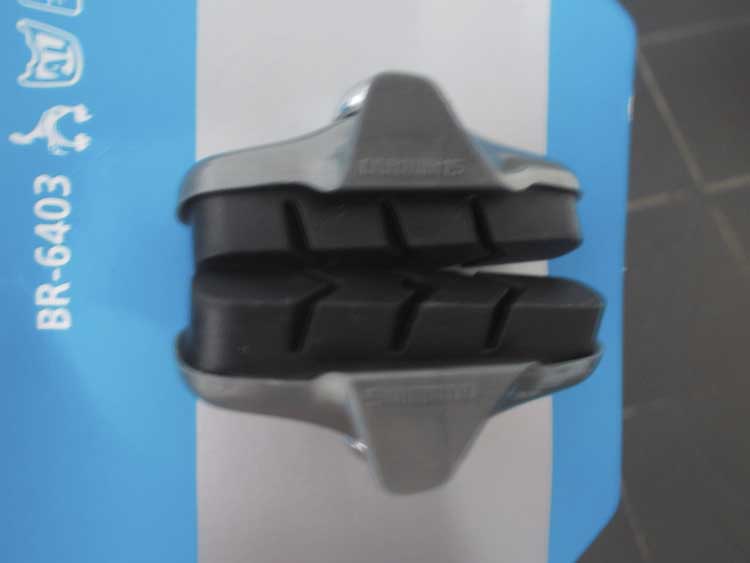
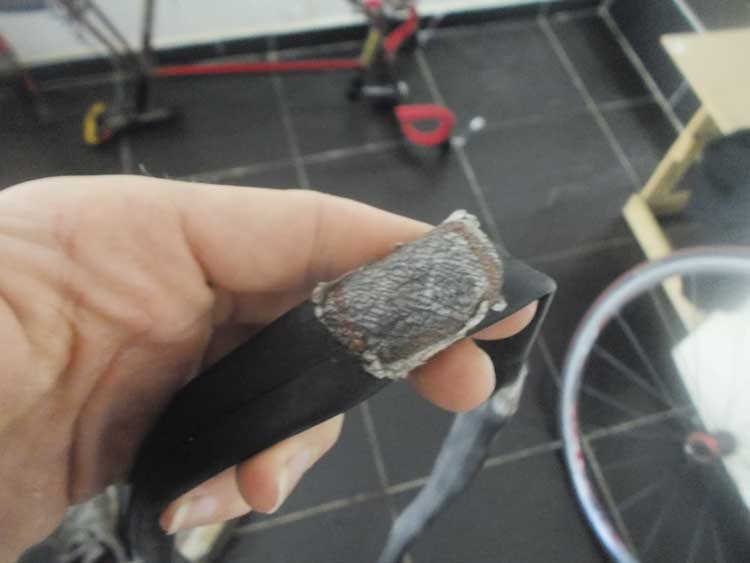
- This is how tread should look
-
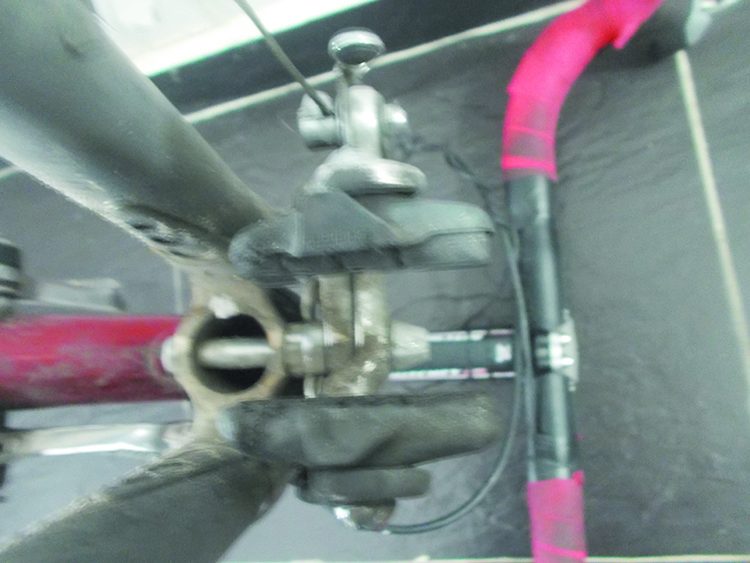
- Whenever doing anything with brakes, check them thoroughly before returning to the road

-

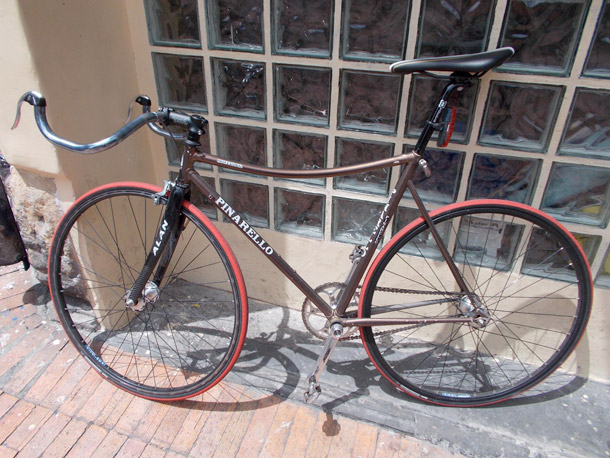
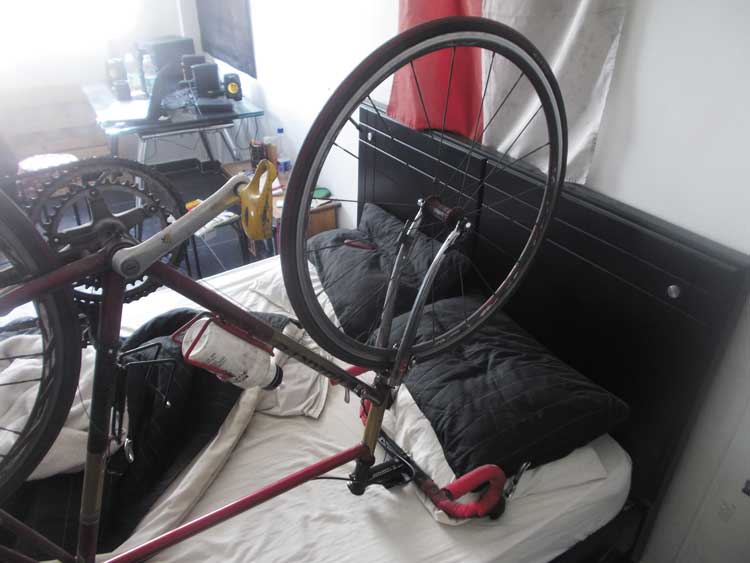
- Flip the bike over onto her back
-
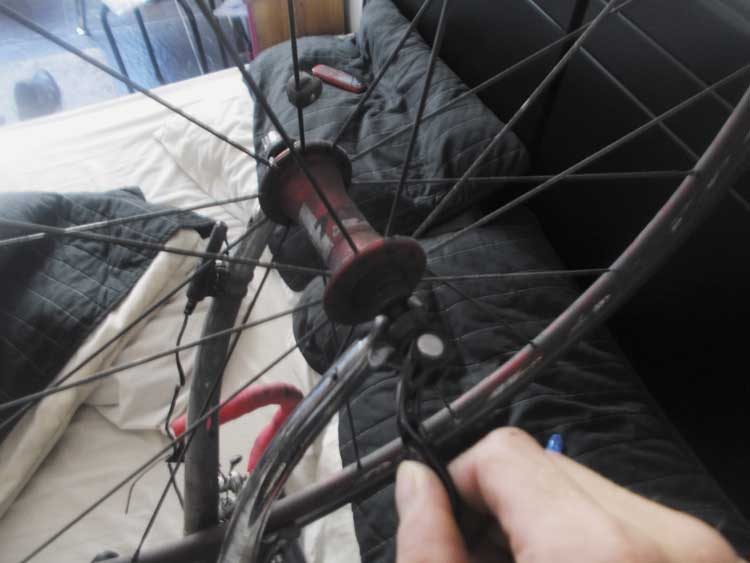
- Take the wheel off the forks/dropouts

-

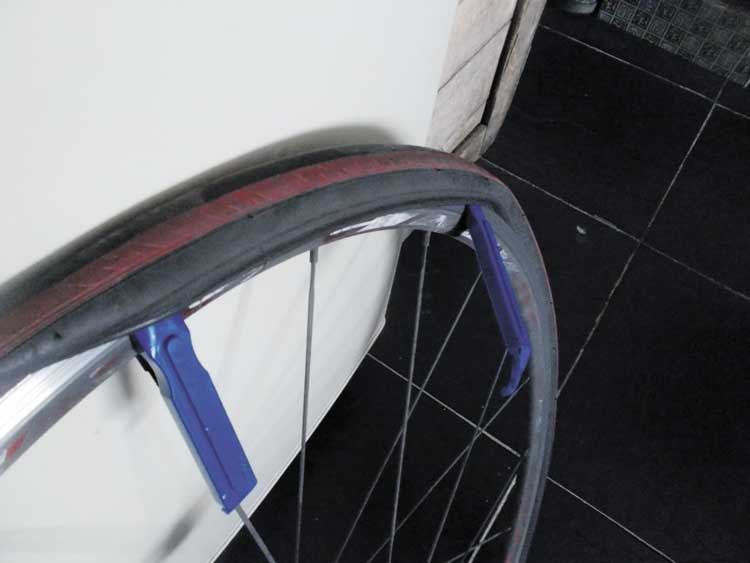
- How to remove the tyre using levers
-
- Stick the patch over the hole, ensuring a good fit

Once you’ve decided to do your own maintenance, you’ll need some tools. What tools? These tools: an Allen key set (known as llaves bristol in Colombia) or at the least a 4.5 and 6mm Allen key; pump; screwdrivers (cross and flathead); and spanners. These are the basics and will get you through all the essential jobs. You’ll also need some grease, because no one likes a dry screw.
Basically, bikes are held together by nuts and bolts. Depending on the age of your bike, among other factors, you should have mostly Allen (hex-shaped holes) bolts or traditional (hex-shaped heads) bolts. All of these should be nice and tight, and you should reserve a lazy Sunday every couple of months to lie in your bed with plenty of grease, casually screwing and unscrewing all the bolts on the bike to make sure they’re still tight. Simply loosen each bolt, and if there is no grease, gently rub some all around the outside of the orifice before slowly but firmly easing the bolt in. Use a towel or rag to clean off the excess, and be aware that it’s not edible, however much you might want to lick it. The most critical bolts to check are the seatpost, saddle, and stem (the place where the handlebars and the fork connect). Remember that getting wet is a good thing in bed, but bad for the bike, so you’ll need to do this a bit more regularly in the rainy season.
Next, have a look at your brakes. These literally save your life, so it’s best to give them a right good going over. Check for wear – the tread should be clearly visible – and give them a good wipe because they’re dirtier than a coal miner’s face. There’s a little bolt at the side of the brake unit; loosen that and then pull the cable through nice and taut before retightening the bolt.
Whenever doing anything with the brakes, remember to thoroughly check them before returning to the road proper. Make sure the brake cable is still tightly wrapped: any fraying at all is potentially dangerous and may need rethreading. This is easy enough to do, simply loosen the bolt and push the cable backwards through the housing (you may need to depress the brake levers for this). Take the cable to your local shop and ask for a new cable with the same head. Then simply slide the head back into the hole and pull the cable taut again.
Run your finger along the chain to see if she’s nice and wet for you. If not, you’re doing something wrong, so liberally splash some oil all over the chain and gears and rub it in sensually. Or just turn the pedals and flick the gears. Whichever you prefer. Have a quick look at her ring, it should be clean and without any missing teeth.
How to sort out punctures:
(You will need tyre levers, sandpaper, rubber glue, a patch, a pump and some weak lemon drink)
First things first, flip the bike over on her back and take the wheel off the forks/dropouts. It should be a 15mm nut if it’s an old bike, or a quick release if not.
If your nuts are tight – stop giggling! – you don’t need to do this, but it will be significantly easier if you do. Once you’ve got the wheel past the lawyer’s lips (fork end) on the frame or fork, it’s time to crack out the tyre levers.
Work them under the tyre and lever them back to hook onto a spoke. Keep doing this until enough of the tyre is outside the wheel. This may involve some (well OK, lots of) swearing and shouting if you have stiff tyres.
If none of this makes sense because you have tyres that are glued to the wheel, you have tubs. In this case, drop everything, go to the Primera de Mayo and enlist a hitman to take out the person that sold you the wheels. Assuming this isn’t the case, rip the tube out from under the tyre and look for the puncture. If it’s not easy to find, inflate the tube a bit and listen for air escaping. If you still can’t find it, inflate the tube like a Paisa’s chest, lick your lips and pass them close to the tube: you should feel a gentle blowing.
Now you’ve identified the problem, roughen up the area with sandpaper and then liberally smear rubber glue all over the slit. You’ll need to wait five minutes or so for it to vulcanise (I love that word), so drink your weak lemon drink NOW! Also, stick a finger inside the rim and the tyre to have a good old feel for any holes or shards of glass etc. Then whack the patch down over the hole, getting right against the rubber so it’s a good clean fit. Hold firm for a while, then release. Again, wait a little while for the bondage to settle.
Now for the moment of truth. Trying to get a flaccid tube into a tyre is as difficult as thumbing toothpaste back into the tube, and also about as enjoyable. Inflate it to a semi-on and then squash it into the tyre. It should be straining against the tyre a little as this prevents the tyre pinching the tube against the rim, which causes punctures. Once that’s done, neatly reline the tyre into the rim. If the rim is tight, you’ll need the levers again. Drop the wheel back onto the bike, tighten up (and check it’s tight, otherwise you’ll fall off badly) and re-inflate until the tyre is harder than an old man on Viagra. If you loosened the brakes, make sure they’re tightened up before riding off into the sunset. And that’s it! Bob’s your uncle. Well, he’s my uncle, anyway.
All of this should keep you rolling for the most part, and in time you can learn more advanced things that need special tools such as wheel truing, replacing headsets and bottom brackets and fiddling with gears. Nothing on a bike is that hard except for wheel building (a genuine art), and everything can be found online. Of particular importance is Sheldon Brown at sheldonbrown.com who predates Sheldon from Big Bang Theory and is roughly 30,000 times better. The website looks dated but has all the information you could possibly want about bikes and then some. Use it as your bible.
Ride safe and always be greased.
Oli ‘el Vikingo’ Pritchard is an ex-London courier with experience of riding in many cities across four continents. His column, 2 wheels good is a regular column on cycling in Bogotá.